Prevent falls at home: why non-slip tape matters
Falls are very common among seniors. They are the leading cause of accidents at home, and they often lead to serious harm such as fractures (especially hip fractures tied to osteoporosis) or a loss of confidence after a fall. With aging, sarcopenia (muscle loss), or balance problems, it is important to make the house safer, especially wet rooms. A strong choice is non-slip adhesive tape.
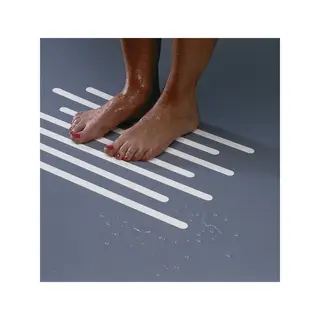
Our non-slip adhesive coverings help you secure the bathroom and the toilet, where floors get wet and slick. Stepping into the tub or shower is safer, and stepping out is safer still. Every non-slip strip we carry is simple to install. They also do a solid job of stopping slips and cutting fall risk during a daily wash.
The bathroom: secure the highest-risk spot
Water, soap, and a smooth floor (tile, ceramic, or enamel) make the bathroom the most dangerous room for a senior. Non-slip shower tape creates mechanical friction under the foot. A regular bath mat can slide on its own or become something you trip over. The adhesive hugs the surface and does not add a raised edge you can catch a toe on.
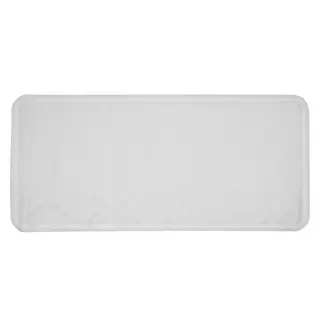
- Tub floor: Choose clear treads or strips that stay discreet and still feel highly textured.
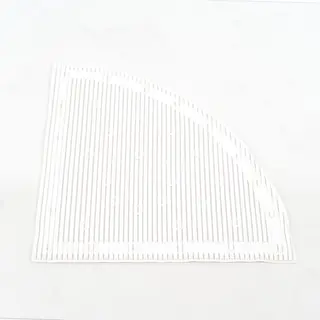
- Shower base (low-profile or curbless): Lay long parallel strips across the area where you turn.
- Shower exit: Treat the tile just outside so wet feet do not lose traction.
Stairs and hallways: support changing mobility
Going down stairs takes coordination and sharp eyesight, both of which fade with age or presbyopia. Stair-nosing tape makes the edge of each step easy to see and gives a strong grip that stops the foot. It is an essential home update for aging in place.
Buying guide: how to choose non-slip adhesive tape
To make the room truly safer, do not pick a roll at random. The right tape depends on the room, your health needs, and how wet the surface gets.
The 4 features that matter most
- Slip resistance (grit): Fine or medium grit is best for bare feet in the shower or tub, so it does not scratch fragile senior skin. Coarse grit (aluminum oxide) is the better choice for outdoor stairs or use with shoes.
- Color and visual contrast: If you have low vision, pick a bright strip (yellow/black, red, or black) to mark hazards. For a tub you want to keep looking clean, clear tape is the better choice.
- Water resistance (waterproof): Check that the acrylic or solvent adhesive is rated for constant soaking or for hot, soapy splash.
- Photoluminescence: Some strips store light during the day and glow at night. That is a real help on frequent nighttime trips to the bathroom.
Comparison chart: which non-slip product fits which job?
| Product type | Best setting | Main advantage | Foot / use |
|---|
| Clear strip (fine grit) |
Shower, tub, bathroom |
Looks clean, stays discreet, feels gentle |
Bare feet (sensitive skin) |
| Black/yellow roll (coarse grit) |
Stairs, access ramp, outdoors |
High visual warning and extreme grip |
Shoes / orthotics |
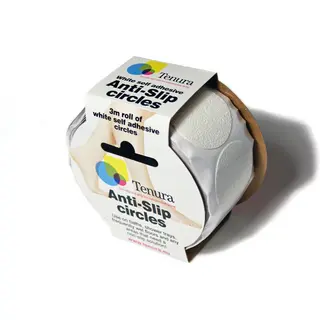
| Adhesive treads |
Tub floor |
Flexible, custom placement |
Bare feet |
| Photoluminescent strip |
Hallway, stair nosing (night) |
Nighttime guidance without a light on |
Bare feet, socks, or slippers |
How to install and care for textured strips
How long the tape stays put depends entirely on how you prep the surface. A poorly cleaned surface will make the adhesive let go early.
A professional install with no special tools
- Step 1: Deep clean. Degrease the surface (tile, enamel, or varnished wood) with denatured alcohol or a mild solvent. Skip cleaners that contain silicone, which leave a greasy film.
- Step 2: Dry it completely. The surface must be fully dry. A pass with a hair dryer helps evaporate moisture left in hairline cracks or grout lines.
- Step 3: Cut and round the corners. If you are using a roll, cut the length you need. Tip: round the corners with scissors so the strip does not lift over time.
- Step 4: Press it down. Peel the liner as you go. Press hard with a wallpaper seam roller or a dry cloth, working from the center toward the edges to push out air bubbles.
- Step 5: Let the adhesive cure. Wait 12 to 24 hours before the first contact with water so the glue bonds fully to the surface.
A tip from Tous Ergo: Non-slip tape does not replace a wall-mounted grab bar. Grip underfoot (the tape) plus a steady handhold (the bar) is what cuts bathroom fall risk by more than 80% for someone whose independence is declining.